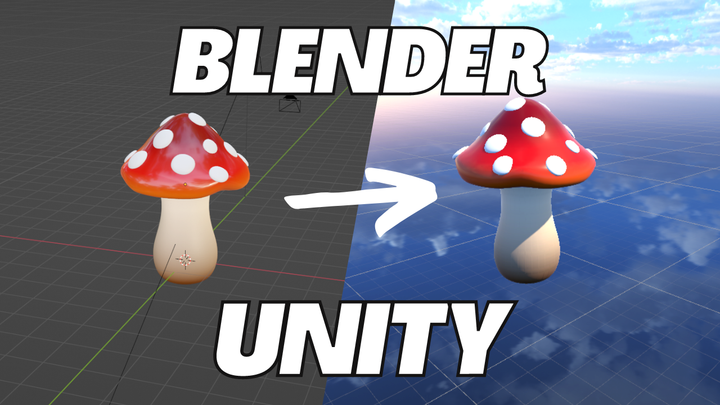
Building a Game to iOS from Unity: A Guide
This guide is about how to build, export, and run a game from Unity to an iOS device.
If you're looking for a guide on how to become an Apple developer and get your game on the Apple store, check out this blog post.
Step 1: Install XCode
XCode is Apple's developer tools. Without it, you won't be able to build your game. This was a little tricky for me as it's a well-known bug that XCode can take a while to install and can stall out or not display the proper install status. This part took me a few days just to get it to not stall out.
My recommendation? Install this at night right before you go to bed and check back in the morning.
Step 2: App Settings
If you're wondering how your app information will be displayed, this is the step to be in. Navigate to Player Settings, and let's have a look.
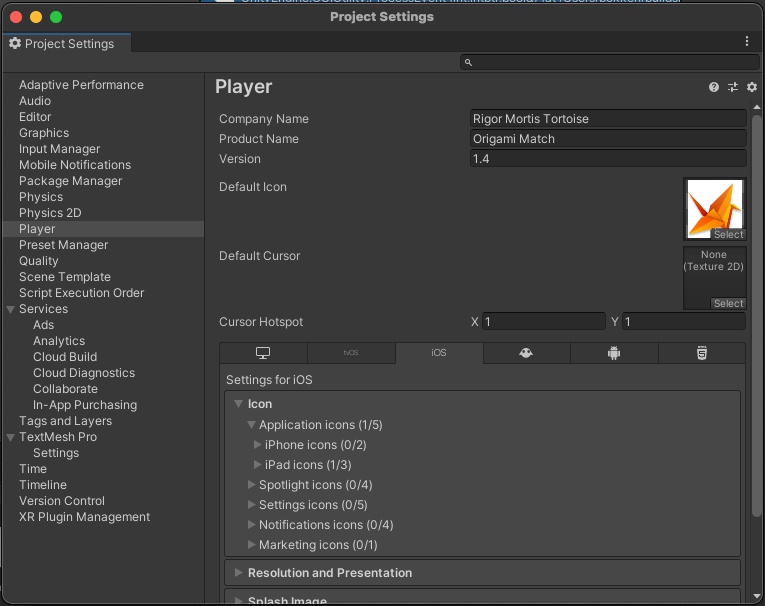
Here you can set your game icon, splash screen, phone orientation, and more. This can also be done in XCode, but I personally like doing as much as I possibly can in Unity so I can keep continuity between different platforms.
Step 3: Unity Settings
Let's get the basics out of the way, make sure your platform is on iOS. If not, hit the iOS section and select "switch platform."
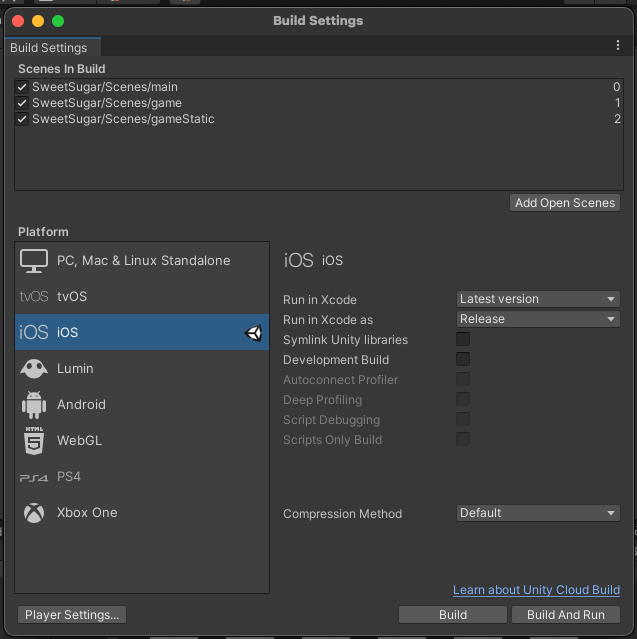
For the other Build Settings, the defaults are fine. "Latest version" and "Release" will get you where you want to go.
Select "Build" if you want to build an app file to your desktop, and "Build and Run" if you have an iOS device connected to your computer.
Step 4: iOS Settings
After you've hit build, Xcode will open.
In Xcode, navigate to Xcode > Preferences > Accounts.
Add your apple ID.

If we go into "Unity-iPhone" under the "Targets" tab, we can see all of the general settings about our app. Whether we want it just for iPhone, iPad, the different orientations, and more.
A Note on Signing and Capabilities
Have you ever gotten an alert on your Mac saying that you're downloading something from an unidentified developer? Well, the signing and capabilities tab is what makes you a verified developer in the eyes of Apple. Pretty cool right?
If we want to test out our app, we can navigate to the top build and click on the hammer:

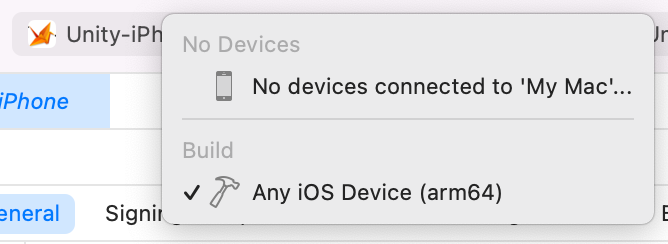
I don't have any devices connected yet, but once I do, I can click the play button and build my app to my iOS device.

Now we're cracking. Now, all that's left is to press play and build your brand new iOS app!